
Expedition Overview
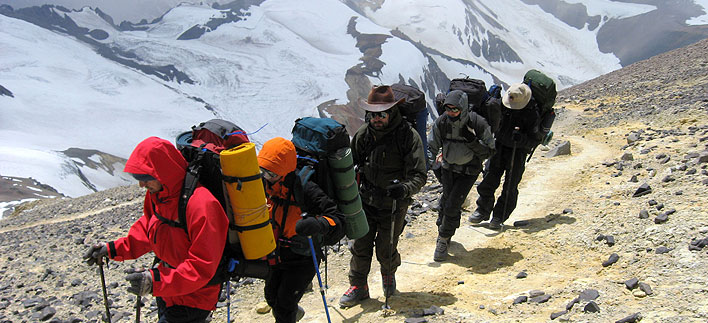
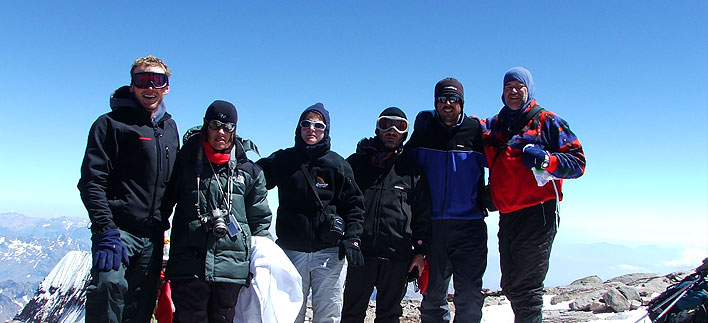
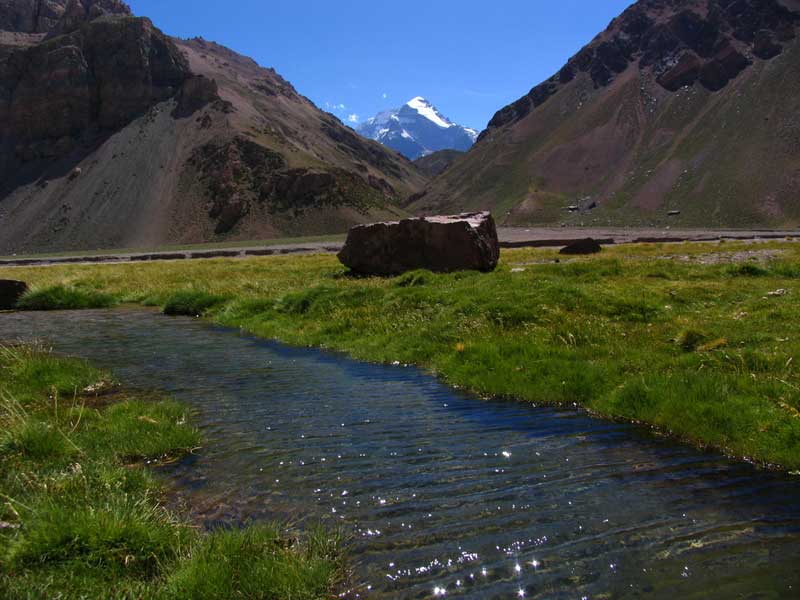
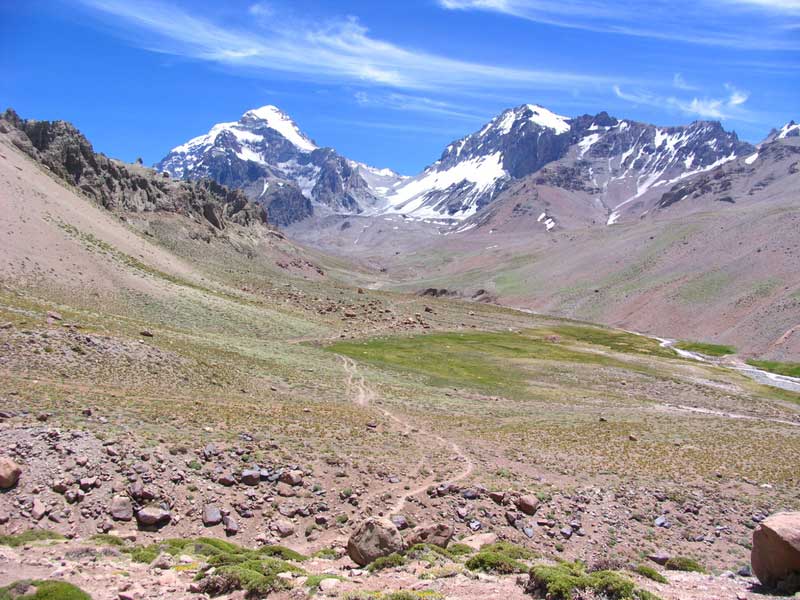
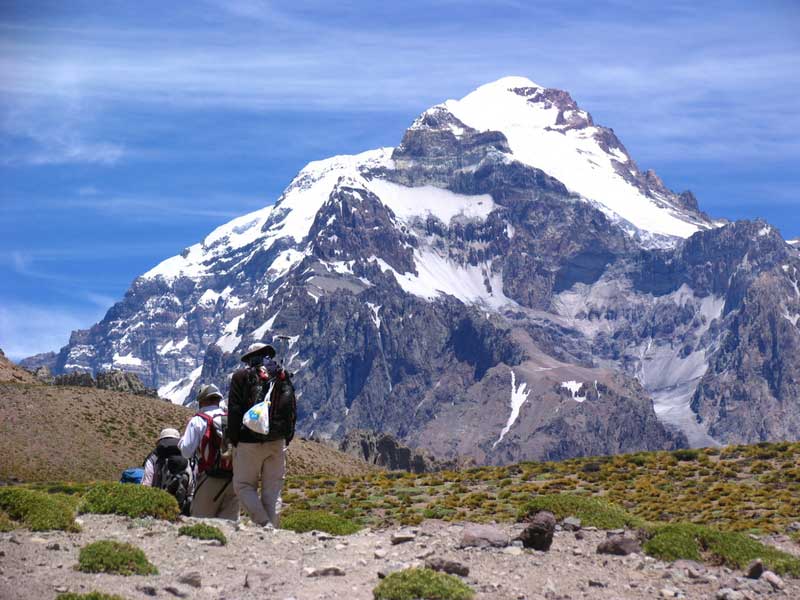
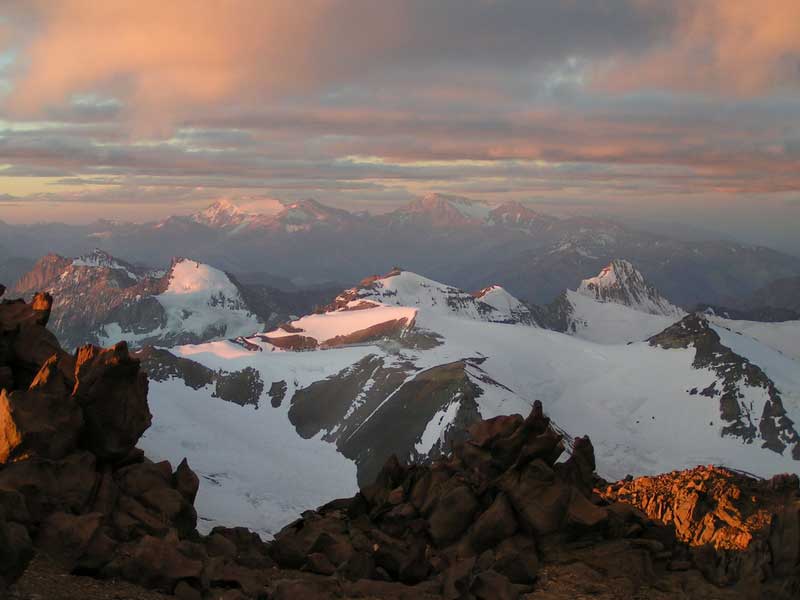
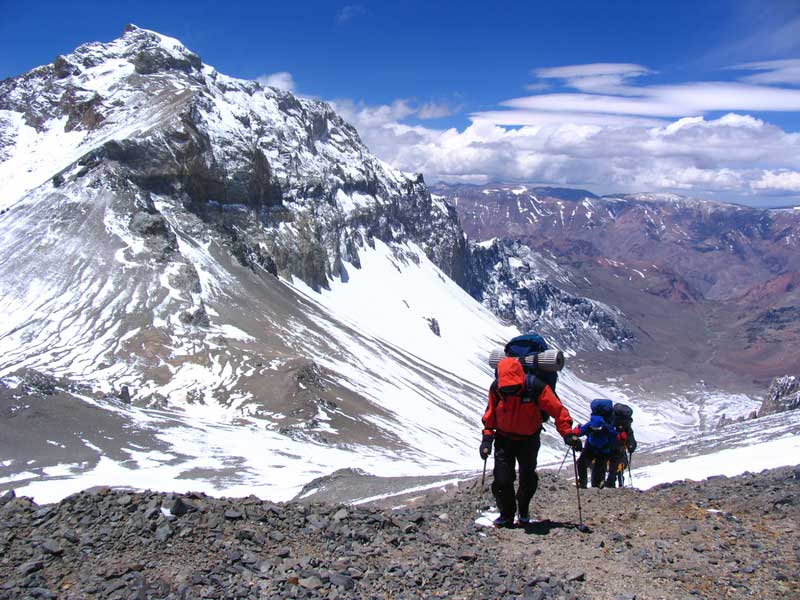
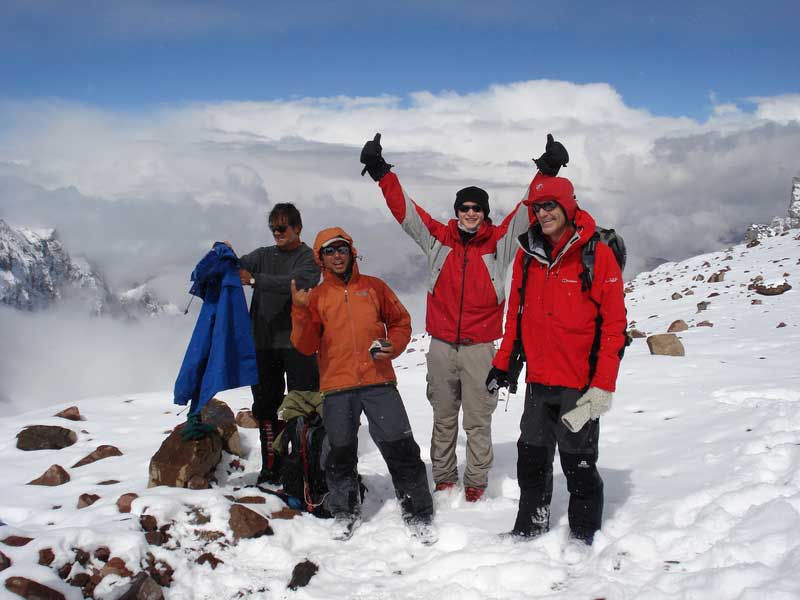
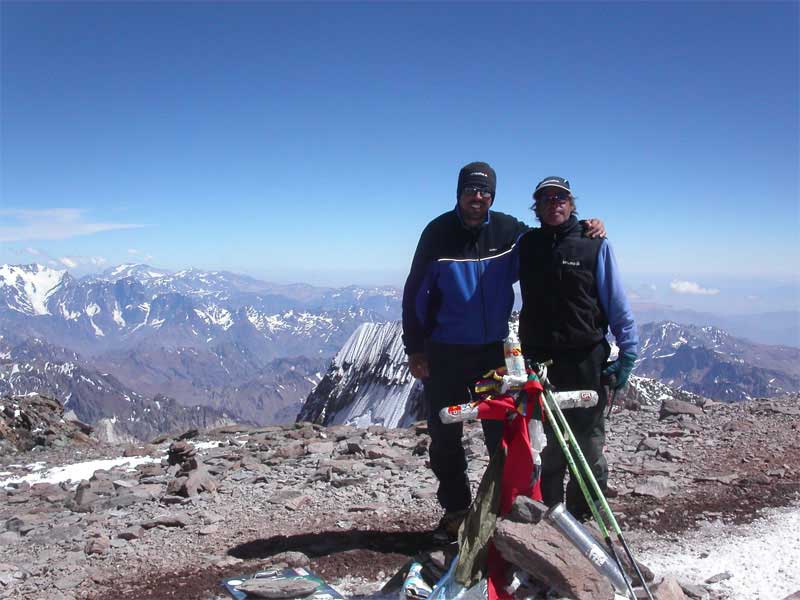
Climbing to the summit of Aconcagua and rising 4000ft above its surrounding peaks provides an incredible perspective of the Andean mountains in Argentina. This trip offers participants the chance to test their endurance at high altitude on a non-technical route in full expedition mode and offers excellent preparation training and altitude experience for those wishing to climb up to 8000 metres on Himalayan expeditions. Carrying our equipment to base camp by mules we then adopt a proven climb high/sleep low approach as we establish a series of higher camps while ascending Aconcagua. We also include several inclement weather days as a contingency, allowing more time to maximise the chances of a successful summit bid. These vital factors are essential for proper acclimatisation and greatly improve our chance of success on this demanding expedition.
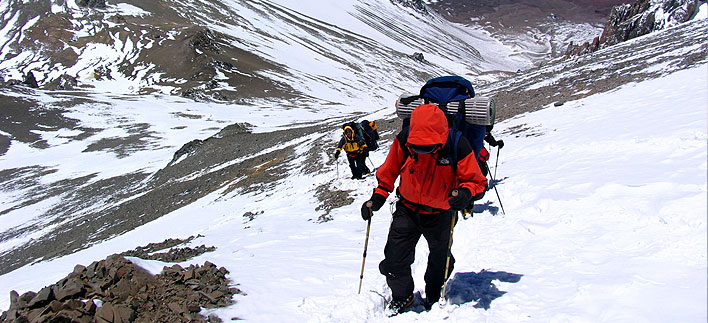
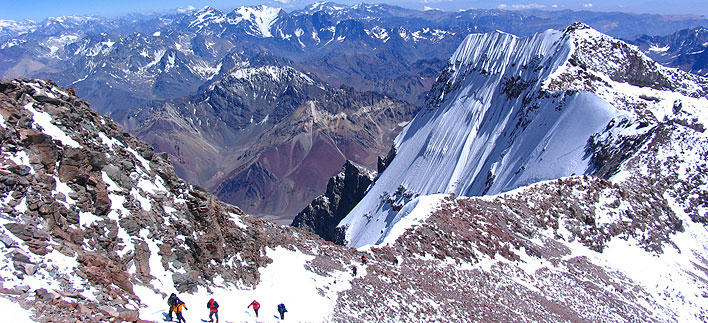
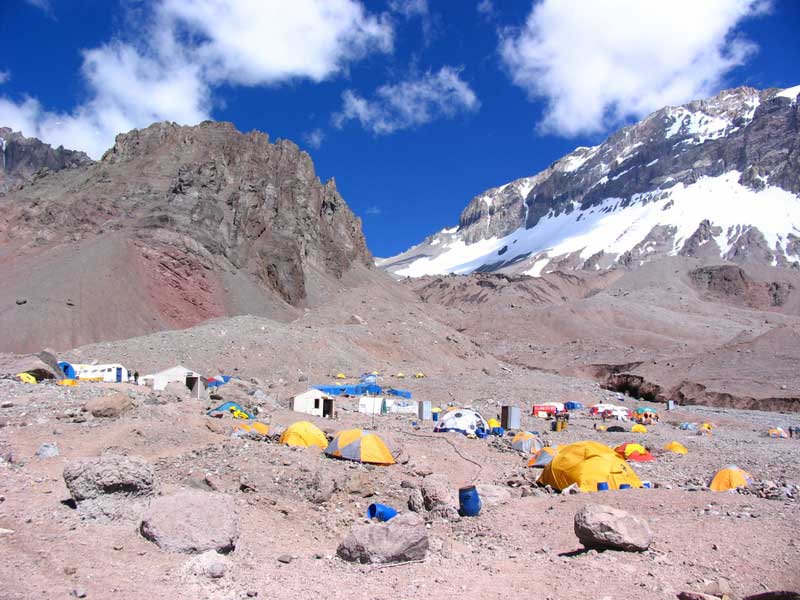
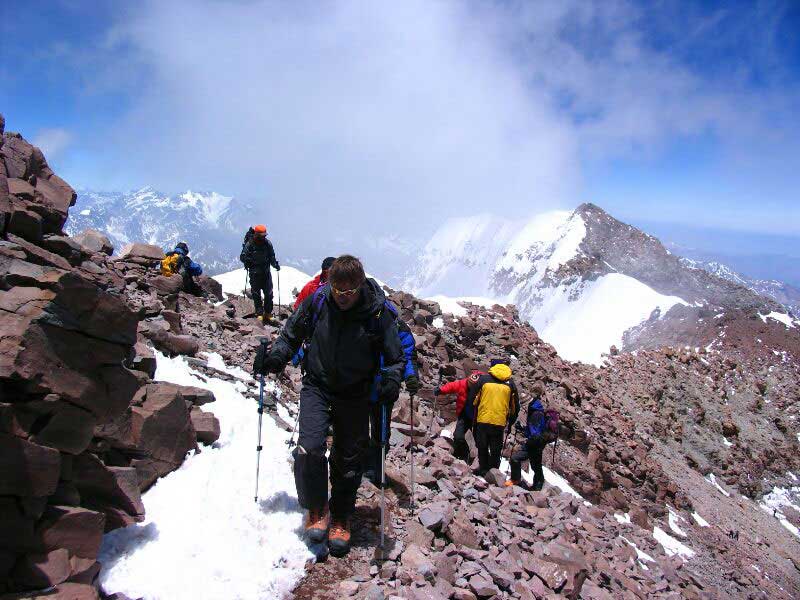
Our route to the summit is not technically challenging and is of a similar difficulty to the Normal Route; however, it is physically more demanding because the distance is longer. Technically, the route crosses below the Polish Glacier and does not involve glacial travel, with only one section of hard snow, a 200-300m slope circa 30° where you would usually require crampons. The approach is made from the Valle de las Vacas (Cows Valley) heading to Base Camp at Plaza Argentina (4200m). From here we climb the mountain via the Falso Polacos Route.
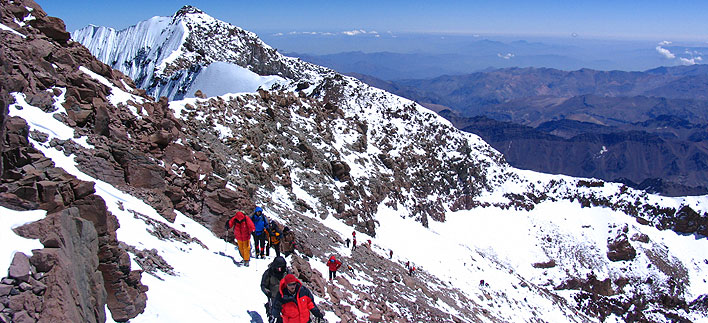
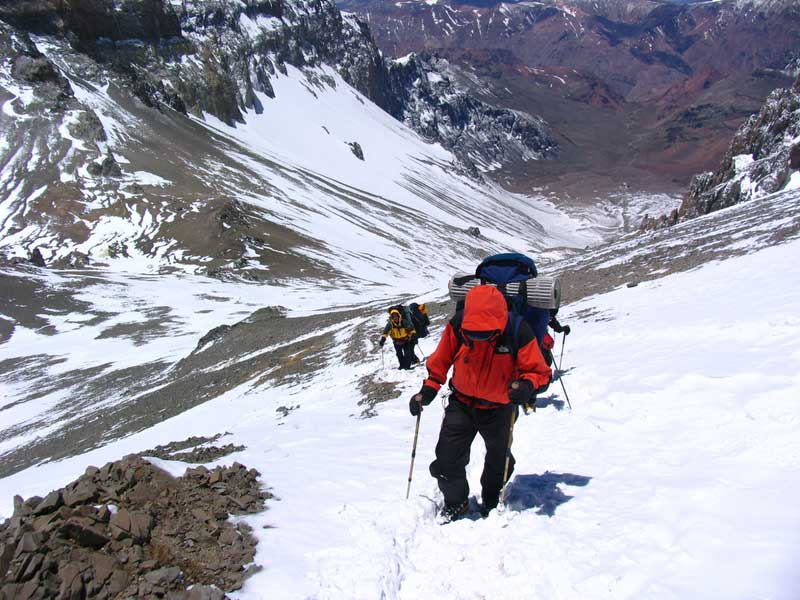
Departing base camp we head to Camp 1, before a diagonal climb towards the right, from a rocky area (5605m) at the base of the Polish Glacier. Our route traverses the bottom, flat part of the glacier before arriving at the camp that marks the northern side of Aconcagua. After this, we follow our route north joining the Normal Route and the Canaleta, from where we approach the summit. Our descent is via the same route, returning to Plaza Argentina. The Polish Traverse approach offers groups a contrasting alternative to the increasingly popular Normal Route providing a more aesthetically pleasing route with greater solitude ascending the eastern aspect of the mountain.
Participation Statement
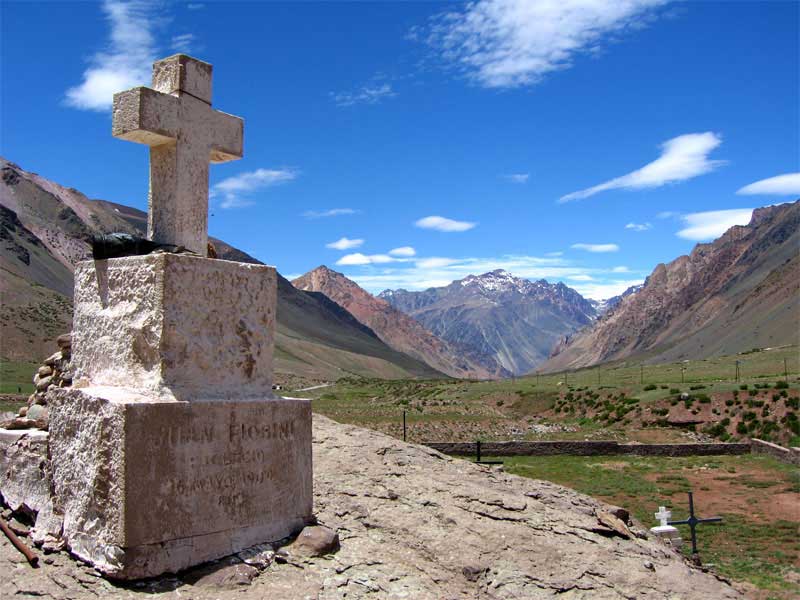
Mountaineering and trekking can be dangerous and such activities carry an inherent risk of injury or death. Our professional guides continually undertake dynamic assessments to minimise the level of risk but it is neither possible nor desirable to reduce the risk entirely, as objective dangers such as avalanches and rock fall occur in the mountains and are largely out of our control. Altitude sickness is also likely and although there is no saying how each individual will react, we will do our utmost to enable each person to acclimatise fully. Participants must understand and accept any risks and take responsibility for their own involvement.
Itinerary
Day 1 |
Arrival in the city of Mendoza. Private shuttle from the airport to the hotel. Purchase climbing permits. Rent or buy any last minute necessary equipment. Welcome dinner in the evening. |
Day 2 |
Travel from hotel in Mendoza to hotel in Los Penitentes (2580m). Lunch at Uspallata Valley (en route to Los Penitentes) or Penitentes restaurant. Estimated time: 3 hours. |
Day 3 |
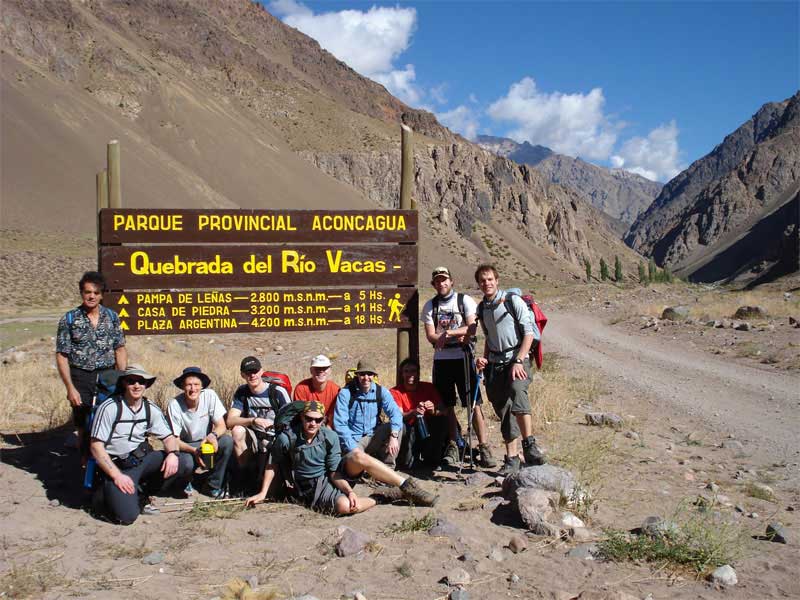
Shuttle transfer from Los Penitentes to Punta de Vacas (2600m). Trekking from the Vacas Valley entrance to Pampa de Leñas (2800m). Estimated time: 4 hours. |
Day 4 |
Trekking to Casa de Piedra (3200m). Estimated time: 6 hours. |
Day 5 |
Trekking to Base Camp at Plaza Argentina (4200m). Estimated time: 6-7 hours. |
Day 6 |
Rest and acclimatisation day at Plaza Argentina Base Camp. |
Day 7 |
Practice load carrying from base camp to Camp 1 (4850m). Return to base camp for overnight stay. Estimated time: 5 hours. |
Day 8 |
Rest and acclimatisation day at Plaza Argentina Base Camp. |
Day 9 |
Climb to Camp 1 (4850m). Estimated time: 4-5 hours. |
Day 10 |
Practice load carrying and acclimatisation from Camp 1 to Camp 2 (5605m). Return to Camp 1 for overnight stay. Alternatively: Climb to Camp 1.5 (5330m). Estimated time: 5-6 hours. |
Day 11 |
Rest day at Camp 1. Alternatively: Climb to Camp 2. Return to Camp 1.5 for overnight stay. |
Day 12 |
Climb to Camp 2. |
Day 13 |
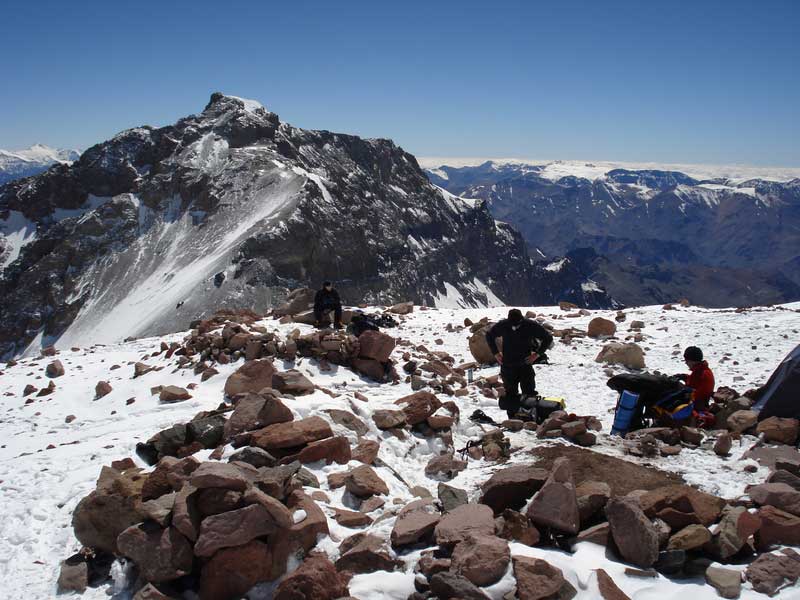
Climb to Camp 3, Rocas Blancas (6095m). Estimated time: 6 hours. |
Day 14 |
Possible first summit attempt, returning to Camp 3 or Camp 2 for overnight stay. Estimated time: 8-10 hours. |
Day 15 |
Possible second summit attempt, returning to Camp 3 or Camp 2 for overnight stay. |
Day 16 |
Descend from Camp 3 or Camp 2 to Base Camp at Plaza Argentina. Alternatively: Traverse Camp 3 and descend to Plaza de Mulas Base Camp (4260m). Time: 5-6 hours. |
Day 17 |
Descend to Pampa de Leñas (2800m). Alternatively: Descend to Confluencia Camp (3300m). Estimated time: 7-8 hours. |
Day 18 |
Trek from Pampa de Leñas to the Vacas Valley entrance. Shuttle to hotel in Mendoza followed by farewell dinner and handing out certificates in evening. Alternatively: Confluencia to Puente del Inca (2700m) and shuttle to hotel. Estimated time: 3 hours walking and 3 hours by vehicle. |
Day 19 |
Private shuttle from your hotel to the airport for departure to the UK. |
This itinerary is only intended as a guide. Adventure travel can be affected by a huge variety of factors including adverse weather, landslides, strikes and breakdowns. The need to spend time acclimatising is crucial to the overall success of the expedition. Our staff will work hard to give you the best possible experience but please be aware that there are some things outside of our control.
What's Included:
-
Private return shuttle from airport to Mendoza hotel
-
2 nights hotel double occupancy rooms with breakfast included
-
Welcome and farewell dinner or lunch in Mendoza (drinks include one bottle of mineral water)
-
Help in obtaining the necessary climbing permits
-
Return transportation in private vehicles from hotel in Mendoza to Los Penitentes
-
Lunch in Valle Uspallata en route to Los Penitentes (drinks include one mineral water)
-
1 night in Hotel Penitentes, double occupancy rooms, includes dinner (with one mineral water) and breakfast
-
Transportation from Los Penitentes to Valle de las Vacas trail head
-
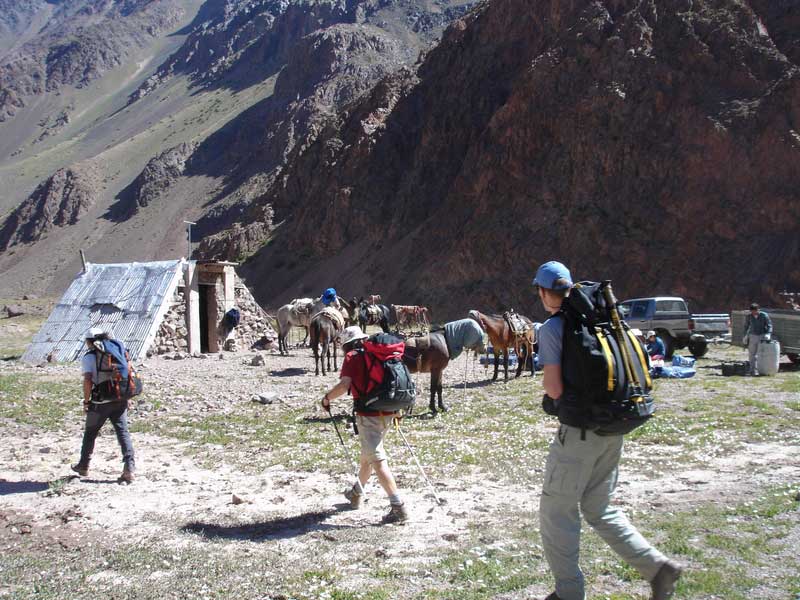
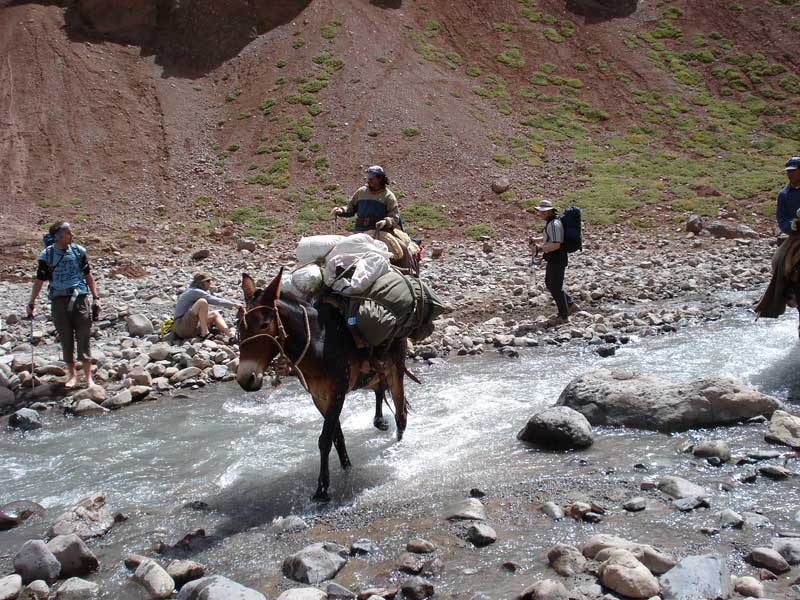
Mules for the transport of equipment from Puente del Inca (Los Puquios) to Plaza Argentina and back, or from Plaza de Mulas to Puente del Inca (Traverse route). Limit of 30kg per person. We also transport personal equipment to the intermediate camps at Pampa de Leñas and Casa de Piedra
-
Food and drinks in Pampa de Leñas, 2 nights
-
Food and drinks in Casa de Piedra, 1 night
-
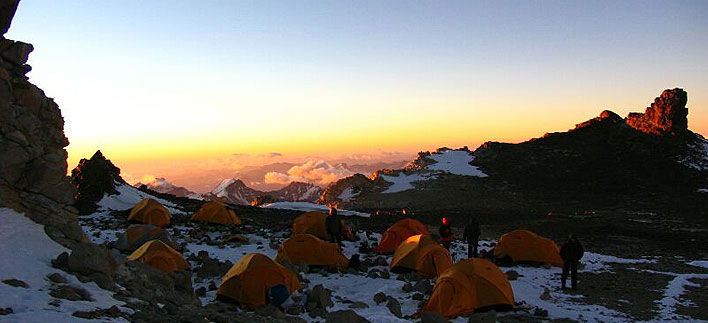
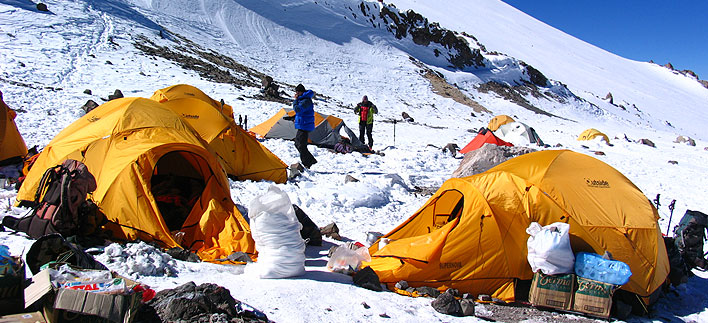
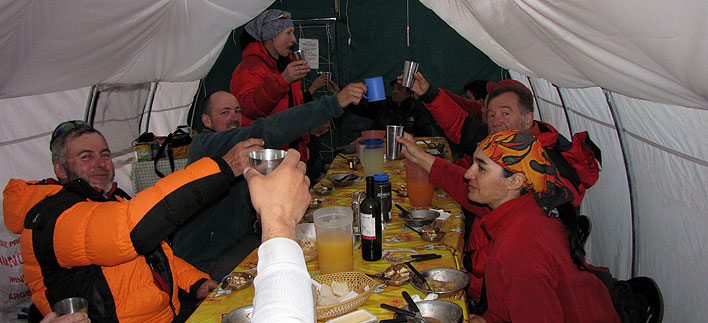
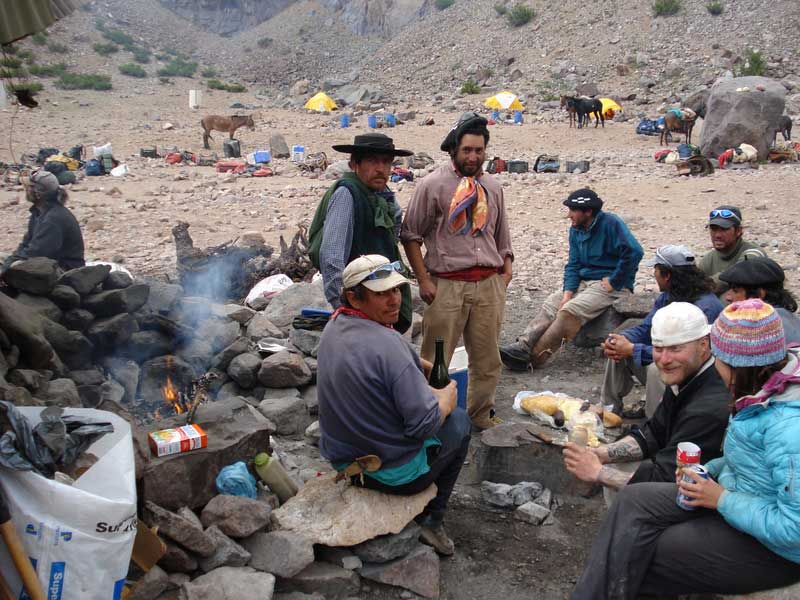
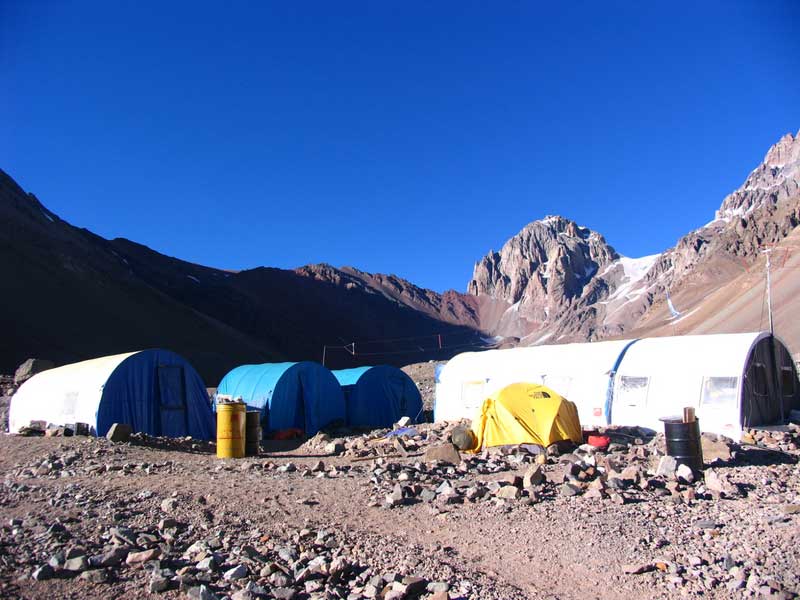
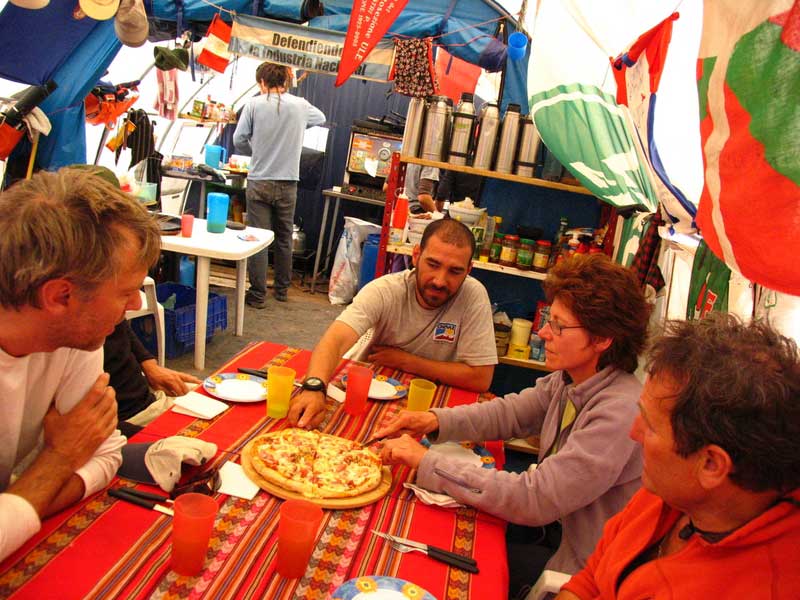
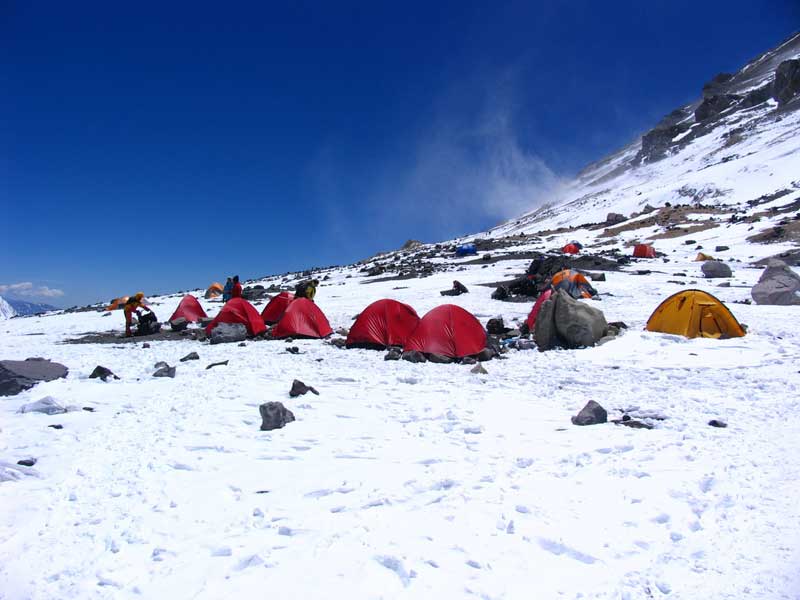
Food, drinks and base camp service in Plaza Argentina for up to 5 nights. Includes: private mess tent with tables and seats, all necessary dishes (knife, fork, spoon, plate and thermal glass), served meals, cook, equipment storage tent for use while group is at the higher camps, electric lights, permanent radio communication, toilet tent)
-
Food and drinks in Confluencia, 1 night in total; including Geodesic Domes with real beds, carpeted floors, heating system, hot shower, and a toilet seat bathroom. Our camps also have a solar energy system, VHF and BLU communications, and our meals are prepared following strict standards of hygiene and contain high nutritional value. They assure the right amount of carbohydrates and protein, everything the body needs to perform at high altitude, yet are easy to digest. We also cater for vegetarians upon request.
-
Food, drinks and base camp service in Plaza de Mulas, 1 night in total; including private mess tent with tables and seats, all necessary dishes, served meals, cook, equipment storage tent for use while group is at the higher camps, electric lights, permanent radio communication, toilet tent
-
Includes high quality four season tents (North Face, Mountain Hard Wear), stoves, cookware and dishes.
-
All necessary food for the high altitude camps
-
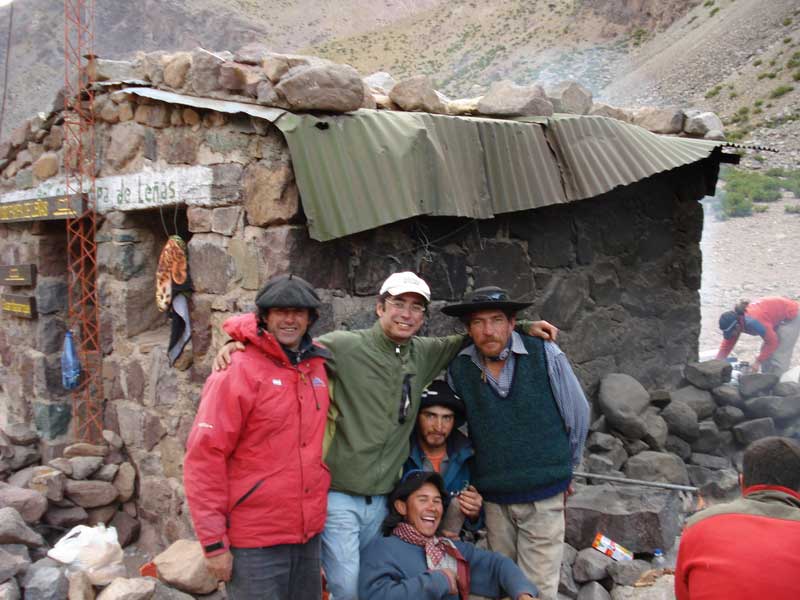
Bilingual high altitude mountain guide and assistants (depending on the size of the group, ratio 1:3)
-
Medical kits during expedition
-
Radio for permanent communication between base camp, Mendoza and Puente del Inca to be able to co-ordinate different logistical issues, reservations, and when necessary rescues or evacuations
What's Not Included:
-
International flights
-
Provincial Park climbing permits (prices vary according to the season)
-
Mendoza food and drink not mentioned in the itinerary
-
Personal porters
-
Individual gear
-
Extra costs as a result of abandoning of the expedition
-
Medical or travel insurance
-
Costs incurred as a result of an emergency rescue
-
Personal expenses (drinks, laundry, mail, telephone calls and other items not mentioned above)
-
All other services not listed as included
-
Tips for local guides
Image Gallery
 |
 |
 |
 |
 |
 |
 |
 |
 |
 |
 |
 |
 |
 |
 |
 |
 |
 |
 |
 |
 |
 |
 |
 |
 |
 |
 |
 |
 |
 |
 |
 |
 |
 |
 |
 |
 |
 |
 |
 |